Second Story Addition Timeline: What to Expect
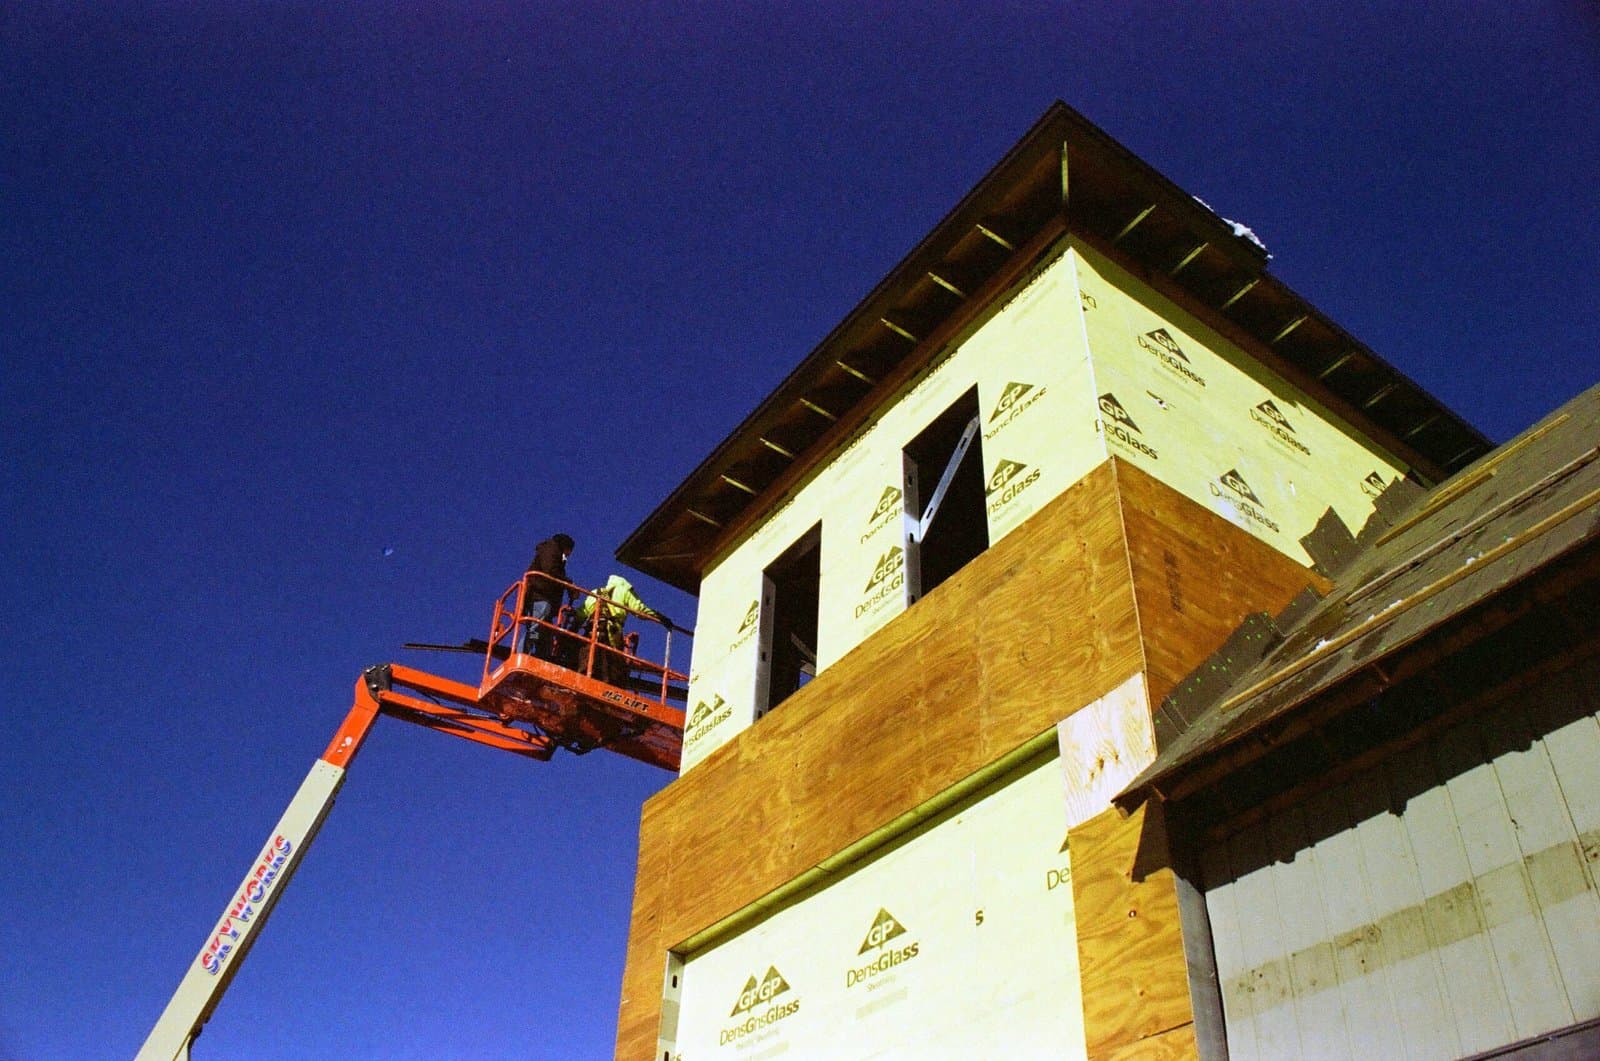
Thinking about a second story addition? Doubling your livable space without expanding your footprint is one of the best ways to add value and functionality. But first-timers often underestimate how many moving parts are involved. Below is a contractor’s step-by-step, realistic timeline covering design, permits, construction, and final finishes that are written to set clear expectations and help you stay on schedule.
Phase 1: Feasibility & Pre-Design (1–3 weeks)
Goal: Confirm your home can support a second floor and define scope, budget, and target schedule.
-
Site review & structural feasibility: A contractor evaluates foundation, framing, roof type, setbacks, and zoning limits (height, floor-area ratio).
-
Rough budget range: Your ballpark will hinge on square footage, roof removal/rebuild needs, and finish level.
-
Scope definition: Bedrooms, baths, laundry, stair location, and whether the first floor needs structural upgrades.
-
Next-step deliverables: Written scope outline, preliminary budget range, and a target timeline.
Pro Tip: Decide early whether you’ll live in the house during construction. Temporary housing can shorten the schedule and reduce disruptions.
Phase 2: Design & Engineering (3–8 weeks)
Goal: Turn ideas into permit-ready plans.
-
Schematic design: Floor plans, stair placement, exterior massing.
-
Design development: Kitchen/laundry/bath layouts, window sizes, rooflines, and exterior elevations for curb appeal.
-
Structural engineering: Beams, posts, shear walls, hold-downs, and foundation upgrades.
-
MEP planning: High-level electrical, plumbing, and HVAC concepts (load calcs, duct runs, plumbing stacks).
-
Selections roadmap: Create a preliminary list of major finishes (windows, roofing, siding, flooring, tile) to avoid later delays.
Pro Tip: Lock stair design early because its location drives structural loads and flow on both floors.
Phase 3: Permits & Approvals (2–8 weeks, varies by jurisdiction)
Goal: Obtain legal permission to build.
-
Permit package: Architectural drawings, structural calculations, energy code forms, site plan, and any truss or shop drawings.
-
Reviews: Building, zoning, and sometimes fire department or stormwater.
-
HOA/ARC approvals (if applicable): Submit elevations, materials, and colors.
-
Common slowdowns: Incomplete drawings, missing engineering details, or HOA meeting schedules.
Pro Tip: Ask your contractor to submit and manage the permit process. It keeps responses consistent and reduces resubmits.
Phase 4: Bidding, Final Budget & Contract (1–3 weeks)
Goal: Convert your drawings into a contract with a realistic, fixed scope.
-
Bid set: Issued plans and specs (include allowances for finishes).
-
Value engineering: Tweak spans, materials, or finishes to stay on budget without sacrificing performance.
-
Contract: Scope of work, payment schedule tied to milestones, insurance, schedule duration, and change-order process.
Pro Tip: Include long-lead items (windows, specialty doors, HVAC equipment) in the contract with order dates and expected delivery.
Phase 5: Pre-Construction & Mobilization (1–2 weeks)
Goal: Set the project up to run smoothly from day one.
-
Kickoff meeting: Final schedule, site logistics, delivery routes, dumpsters, portable restrooms, and neighbor notifications.
-
Protection plan: Dust control, temporary partitions, floor protection, weatherproofing if you’re living in place.
-
Procurement: Order windows, roofing, siding, tubs/showers, and electrical panels to avoid bottlenecks.
Phase 6: Site Prep, Demolition & Temporary Weatherproofing (1–2 weeks)
Goal: Safely remove roof/areas to be altered and keep the home dry.
-
Selective demo: Roof removal, ceiling joists, sections of exterior wall as needed.
-
Temporary protection: Tarps, shrink-wrap, or temporary roofing if weather threatens.
-
Structural prep: Expose bearing points for new posts/footings.
Risk Watch: Weather delays here can ripple through the entire schedule. Have contingencies ready.
Phase 7: Framing & Sheathing the New Second Floor (2–4 weeks)
Goal: Build the structure that defines the new space.
-
Floor system & walls: New joists, load paths, and exterior walls raised.
-
Stairwell cut-in: Coordinate framing with stair fabrication/rough dimensions.
-
Roof framing: Standard rafters or trusses set; sheathing installed.
-
Dry-in milestone: House wrapped and roof underlayment on which is critical for protecting interiors and accelerating trades.
Phase 8: Roofing, Windows, Exterior Doors & Weather Barrier (1–3 weeks)
Goal: Achieve full weather-tightness.
-
Roofing installed: Shingles/metal, flashings, vents.
-
Windows & doors set: Proper flashing to protect against leaks.
-
Siding prep: Housewrap, tapes, and trim details.
Pro Tip: Window lead times can be 4–12+ weeks. Ordering in Phase 5 keeps this phase on track.
Phase 9: Rough-In Mechanical, Electrical & Plumbing (2–4 weeks)
Goal: Install systems inside walls before insulation.
-
HVAC: Ductwork, returns, bath fans; verify equipment sizing for the added square footage.
-
Plumbing: Supply/vent stacks, bath and laundry rough-ins, second-floor water pressure checks.
-
Electrical: Circuits, panel upgrades if required, can lights, switch/outlet layout, low-voltage (data/smoke/CO).
-
Rough inspections: Building, electrical, plumbing, and mechanical approvals required before closing walls.
Phase 10: Insulation & Air Sealing (3–7 days)
Goal: Meet energy code and comfort requirements.
-
Insulation type: Batt, blown-in, or spray foam per code and budget.
-
Air sealing: Penetrations, top/bottom plates, and window/door gaps.
-
Inspection: Energy or building inspector signs off.
Phase 11: Drywall, Prime & Texture (1–2 weeks)
Goal: Close the walls and prep for finishes.
-
Hang & finish: Tape, mud, sanding, texture if desired.
-
Prime coat: Reveals surface defects for repair before finish paint.
Phase 12: Interior Finishes & Trim (4–8 weeks)
Goal: Complete the look and function of your new space.
-
Finish carpentry: Doors, casing, baseboards, crown, stair railings, closet systems.
-
Cabinetry & built-ins: If you’re adding a wet bar or storage, coordinate with trim.
-
Hard surfaces: Tile, hardwood/engineered flooring, bath surrounds.
-
Paint: Ceilings, walls, trim, touch-ups.
-
Fixtures: Toilets, vanities, lighting, smoke/CO detectors, thermostats.
-
Final MEP connections: Set plumbing trims, install registers/grilles, device plates.
Phase 13: Exterior Finishes (1–3 weeks, often overlaps Phase 12)
Goal: Weather protection and curb appeal.
-
Siding & masonry: Lap siding, panels, stucco, brick/stone tie-ins.
-
Gutters & downspouts: Direct water away from foundation.
-
Exterior paint & details: Shutters, vents, and final caulking.
Phase 14: Final Inspections, Commissioning & Punch List (1–3 weeks)
Goal: Prove code compliance and achieve a clean, complete handoff.
-
Final inspections: Building, electrical, plumbing, mechanical, energy plus fire where required.
-
Commissioning: Test HVAC balance, hot water temps, GFCI/AFCI, smoke/CO alarms.
-
Punch list walk: You and the contractor note remaining touch-ups, door adjustments, caulk/paint fixes, and cleaning.
-
Closeout package: Warranties, manuals, paint schedules, as-builts, and final lien releases.
How Long Does a Second Story Addition Take Overall?
A well-planned second-floor addition typically spans 4–8 months from design kickoff to final punch, with variability driven by permit timelines, weather, scope complexity, and long-lead materials. Complex two-story remodel tie-ins or major structural upgrades can extend into the 9–12 month range.
Keys to Staying on Schedule
-
Make decisions early. Finalize windows, doors, tile, flooring, and fixtures before rough-ins.
-
Protect the critical path. Dry-in, inspections, and long-lead items determine pace—prioritize them.
-
Minimize change orders. Changes after rough-in ripple through trades and inspections.
-
Plan for utilities. Panel upgrades, gas meters, or sewer tie-ins can require utility lead time.
-
Schedule inspections proactively. Book as soon as phases are ready; missed slots stall progress.
Ready to Build Up?
If you’re planning a second story addition and want a team that manages the entire process—from feasibility and design to final finishes, CTM Construction can help. We guide first-time homeowners through every phase, keep the schedule realistic, and deliver a high-quality home addition you’ll love for years.
Schedule a consultation with CTM Construction to review feasibility, timelines, and budget for your project.
Recent Posts
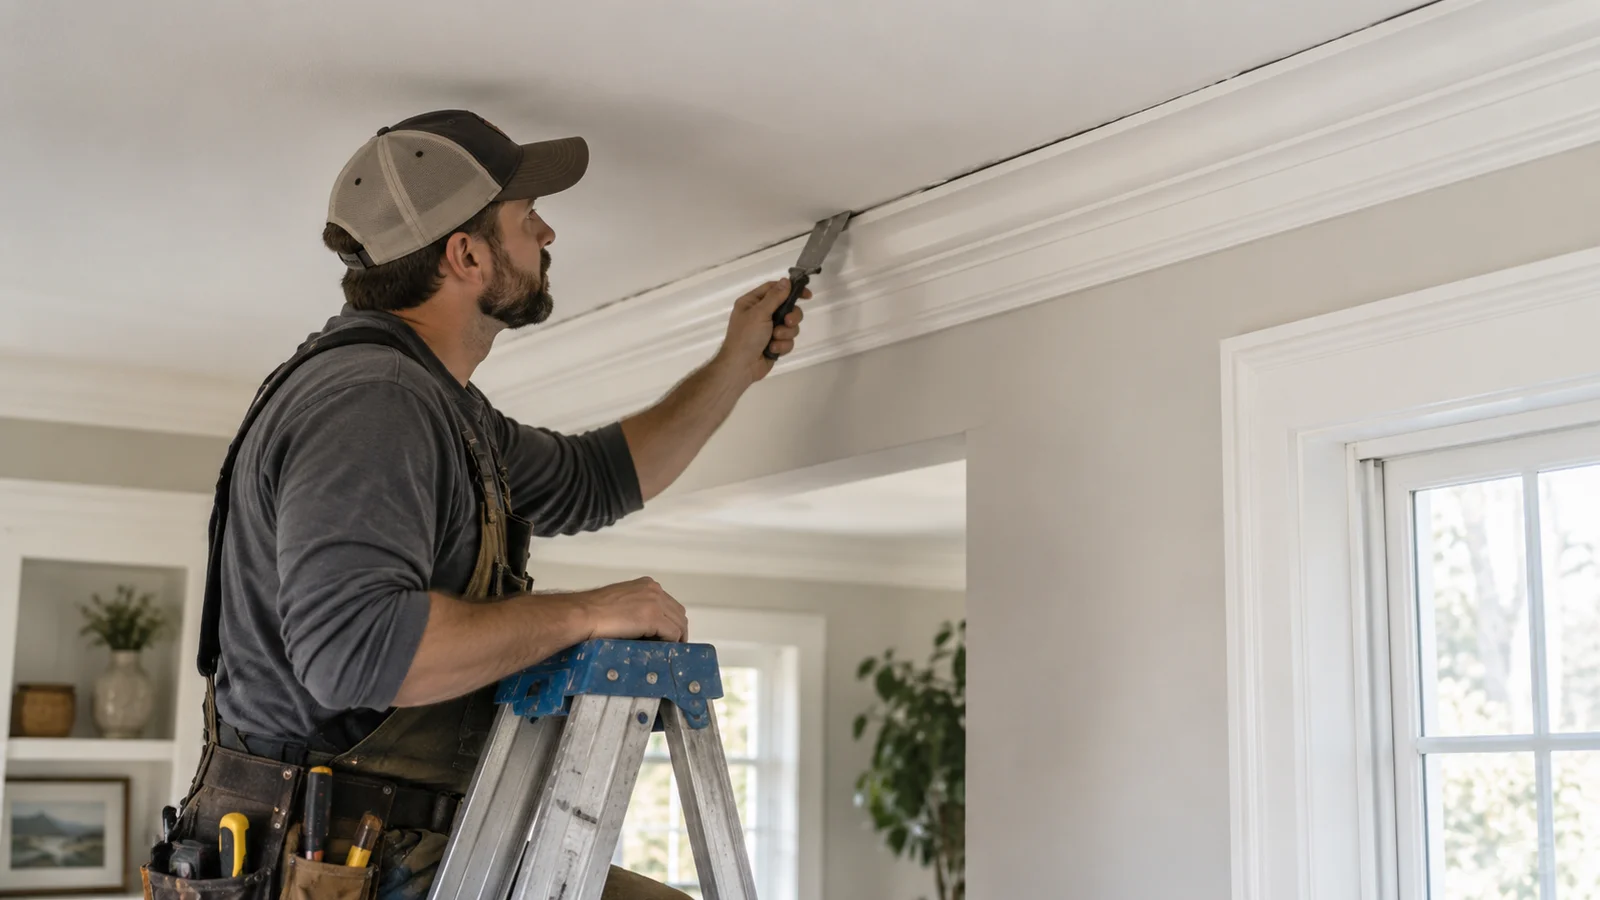
Why Are There Gaps Between My Crown Molding and Ceiling?
SEPTEMBER 28, 2026
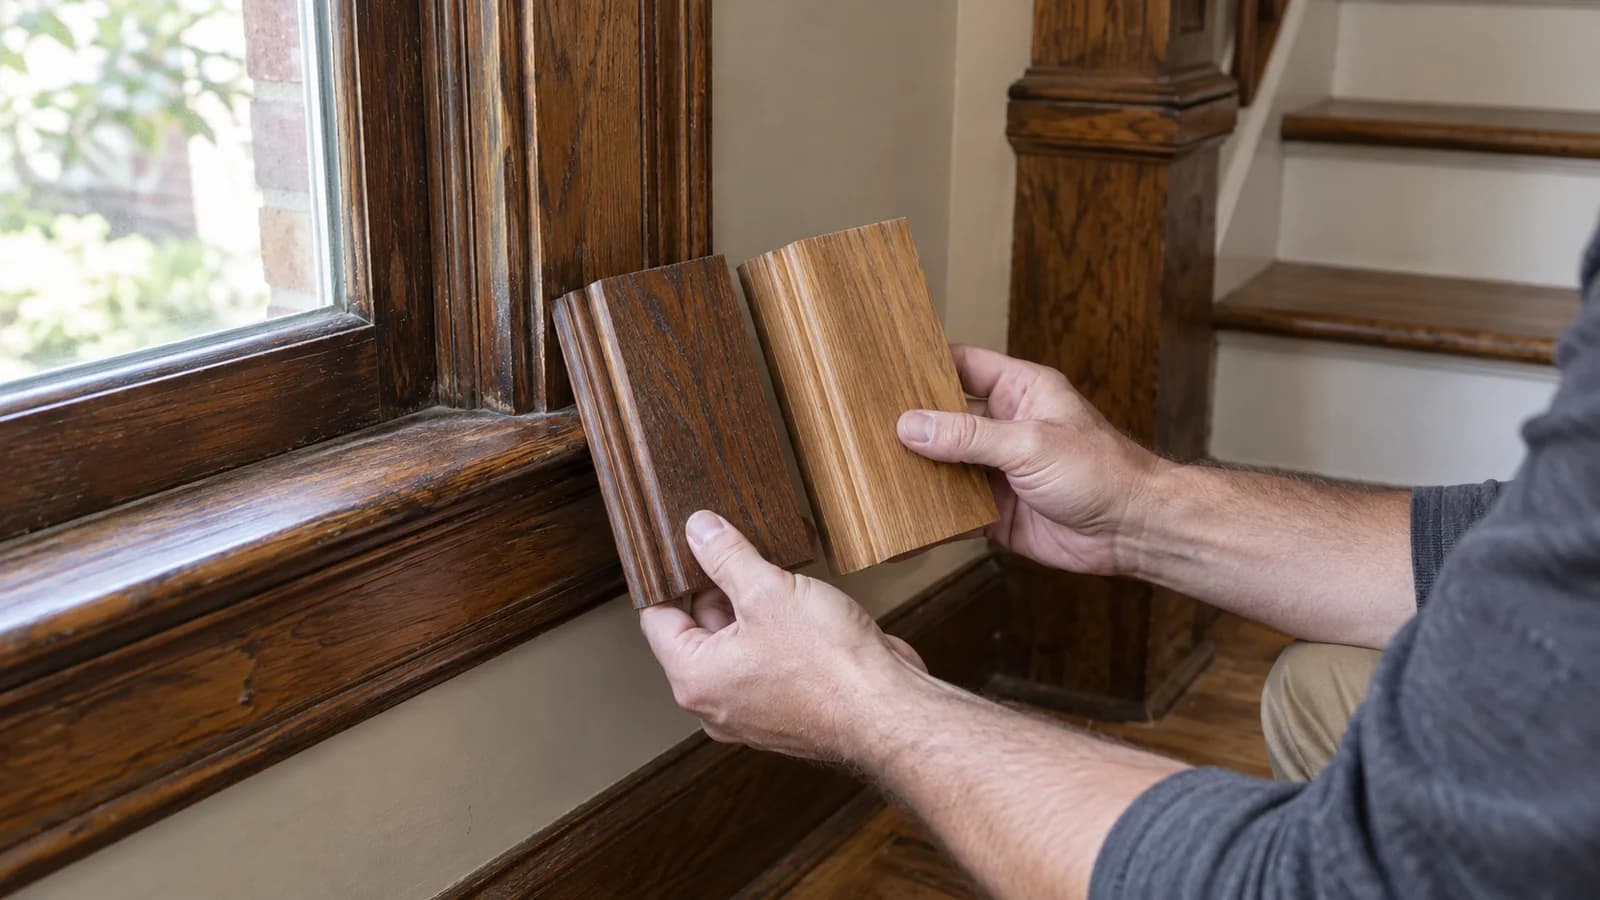
How to Match New Trim to Existing Woodwork in a St. Louis Home
SEPTEMBER 15, 2026
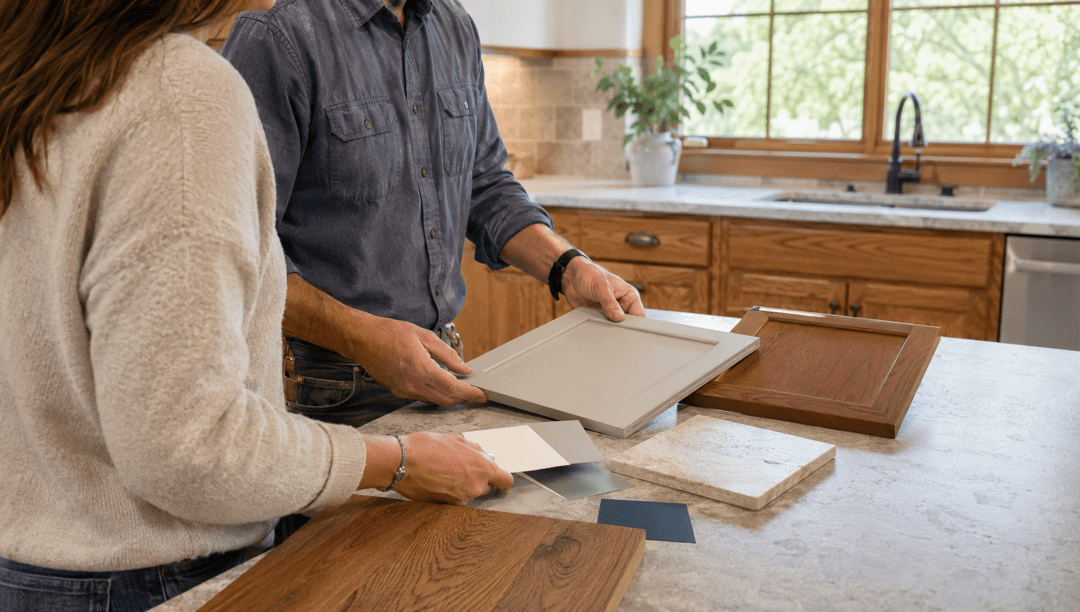
How to Update a Home Without Making It Feel Too Trendy
AUGUST 25, 2026
Basement Conversion Ideas for St. Louis Homes
AUGUST 19, 2026
Woodwork Repair vs Replacement – What Makes Sense?
JULY 27, 2026
How Built-In Storage Can Make a Small Home Work Better
JULY 6, 2026
Newsletter
Don't miss a thing!
Sign up to receive daily news